The Idle Mind's Woodworking
Photos are meant to be as self explanatory as possible. Please post your comments for questions. Click individual photo to enlarge
Friday, July 25, 2014
New Link to More Woodworking posts
Please note that I had moved all my new posts at : http://easywoodworking-tolerba.blogspot.com/
Please log on to the link where I had posted a lot more woodworking tips and photos.
Thank you.
Sunday, July 13, 2014
LED Desk Lamp 2G
Here's another project from the scrap heap of walnut and oak
All of my projects are originally conceived because I'm not good at following other people's designs/plans.
A biscuit joinery, and angled mortise and tenon and flexible elbow connected by stainless steel bolt and knurled nut
A glue up jig makes for a precise set up
Router table shape the strip holder to a narrower profile.
Oak and walnut
A little bit of soldering connects the strip of LEDs from Elemental LED (available on the web)
The switch is a low voltage item from the auto supply store
LED strip lights come in a variety of color spectrum. For the desk a "cool white" or warm white works very well. LEDs turn on at full power without a nano second of delay, producing a fraction of the heat that other lamps have and will last many, many times over.
The oak and walnut desk lamp complements the writing desk and filing cabinet I made for my wife a few years back, which were also made out of the same species.
LED Desk (strip) Lamp not only has a small foot print, it also eliminates the lamp shade overhang.
My Ultimate Back Scratcher
Nothing brings so much euphoric relief for something that is not much more than a mild annoyance than a scratched back itch . In fact, as an idiomatic expression, "Scratching each other's back", is a widely accepted social symbiosis, even more so in politics and business settings. However, in the literal sense when there is no one to scratch our back nothing could take the place of a back scratcher.
These two below were store bought ones at a flea market years ago at about $3.99 each.

The one I designed, experimented with, and later constructed is priceless, if I may be allowed to say so.
I ripped with a thin saw blade a piece of walnut from the scrap heap.
Cross cut and separated
Glued together with thin pieces of oak for contrast
The handle was glued pieces of walnut and Pink Flame (hardwood species)
The joint between the handle and the "hand" required a 7 degree slant so a horizontally set up drill worked perfectly.
Power tools would have easily made quick work of sculpting the "hand" but hand tools are more rewarding albeit time consuming, but I needed the practice.
Priceless and now I don't really want to use it. Thinking of framing it even. :-)
Saturday, July 5, 2014
Wine Bottle Holder
While touring one of California's vineyards I saw in one shop a wine bottle displayed in a special way. I was fascinated by it, took a couple of photos and decided I'll try to make a woodworking project out of it. It was a little complicated than I thought, although the idea of the center of gravity is simple enough. After a few trial and error on scrap wood I got the correct angle of the hole so the bottle would balance with the holder just right. The final project was made with red cedar. Key is for the center of gravity of the holder and bottle to fall within the "footprint" of the holder on the flat surface.

Key to how this works is the angle of the hole for the neck bottle, the angle of the base and, of course, the length of the holder. So, I had to experiment first and best way was to do it first with scrap wood.

With the drill set up horizontally, and the table tilted at a specific angle, makes the drilling an easy operstion.
I went beyond the single to double bottle holder. Obviously one can go to triple or more holders, except that it will become way too unwieldy.
Wednesday, July 2, 2014
Night Table Coonstruction
Construction begins with 3/4 inch oak plywood sheet. Plywood if properly trimmed with solid hardwood - in this case with a combination of solid oak and walnut - is a very stable material.
Used pocket hole joinery to make box "carcass"
Plywood top is trimmed with oak and walnut glued together and mitered. Mitered trim are joined to the plywood with biscuit, using a biscuit joiner (power tool)
Drawers are also constructed of plywood with solid trim, grooves to accommodate drawer bottom. Drawer sides joined with off set dado (grooves)
Glue up
Drawer face trimmed with solid walnut. Drawer pulls made with oak and walnut combination
Wednesday, June 25, 2014
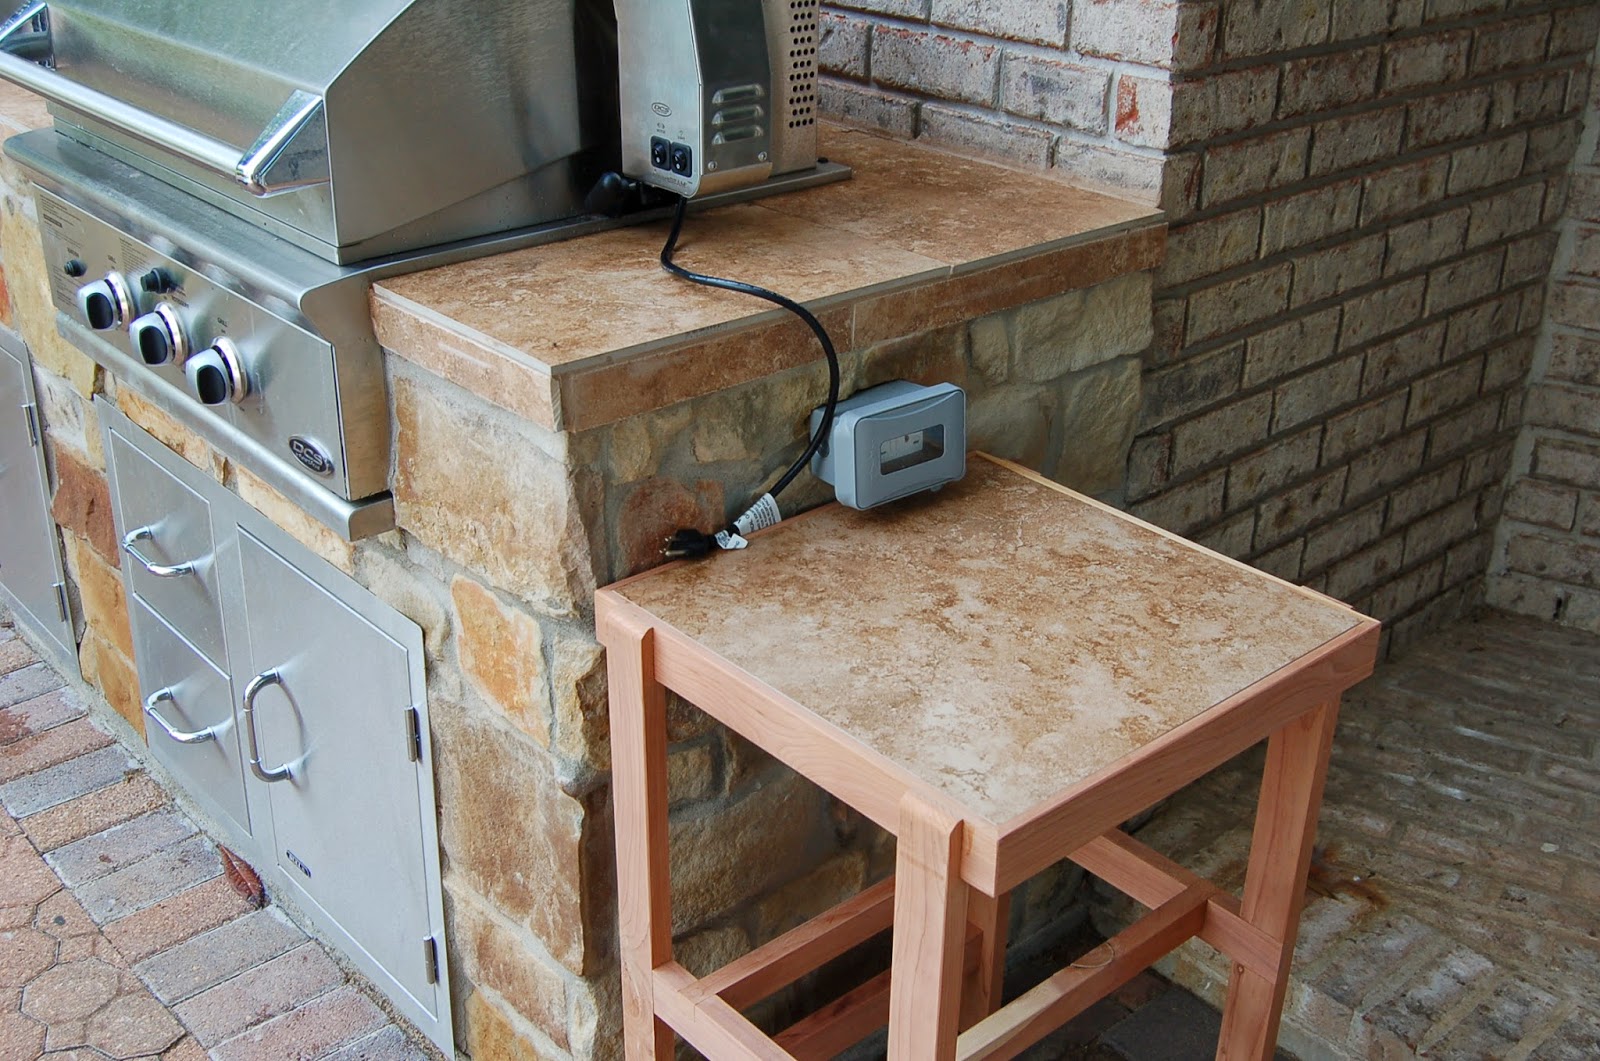
Outdoor grill Side Table - Red Cedar & Single Tile
Rough cut red cedar
Dimensioned at the jointer and planer
Stacked dado blades make quick work of cutting grooves
Home made groove cutting jig
All, except the bottom rail, were joined with exterior glue.
Side table tile top matching the grill base tile.
Wood will remain unfinished (no stain or any finish), hopefully the cedar will age "gracefully"
Subscribe to:
Comments (Atom)


